Branches and Twine Place Card Holders
Nick and I made a resolution a couple of New Years’ eves ago, to begin having more people over to our place for dinner. We both like to cook so that seemed like a fun way to see our friends more often. And I’m glad to say that we followed through and have indeed hosted a number of small dinners at home since then. With that practice under our belts, we now feel like stepping up our game and having more guests over at the same time, during the upcoming year.
This is a post showing some Place Card Holders I made in anticipation of these larger dinner parties to come … I made 10 of them, which might be ambitious, but we’ll see how it goes!
Aside from wanting to make these to use ourselves, this DIY might come in handy for people in the United States hosting Thanksgiving this week, or for any upcoming holiday gatherings to come. This same technique can also be used to make table signs or signs to identify items on a buffet table. (See a larger one, used to display a vintage post card, in this post.)
Requiring minimal supplies of 2 branches cut to 4 inch lengths and 2 x 8 inch pieces of twine each, they are pretty quick and easy to make – it took me about 45 minutes to make these 10. (Aside : I listened to the first episode of the podcast Serial as I made them and now I’m hooked!)
I used branches that had fallen from some maple trees near our home, but I’m sure you could scout a local park or ravine for some. You’re looking for fairly straight pieces that are about 1/2 to 1 inch in diameter, to make name cards and about 2 inches to make larger sign holders. We have a pretty sturdy branch cutting tool, but a small saw would also do the trick.
I’ve included a pictorial for how to tie them together at each end. Note that the twine wraps around the branches, coming up through the centre of them, and winding back around each one and tying at the back. It’s important for the twine to come through the centre so the branches are not too tightly tied together, because you need room to slip the card with your guests’ names on them.
I happened to have some blank business card sized card-stock so I used those, but you can cut any card-stock to fit. I also decorated the cards using some fancy edged scissors and a silver paint pen, but that it totally optional.
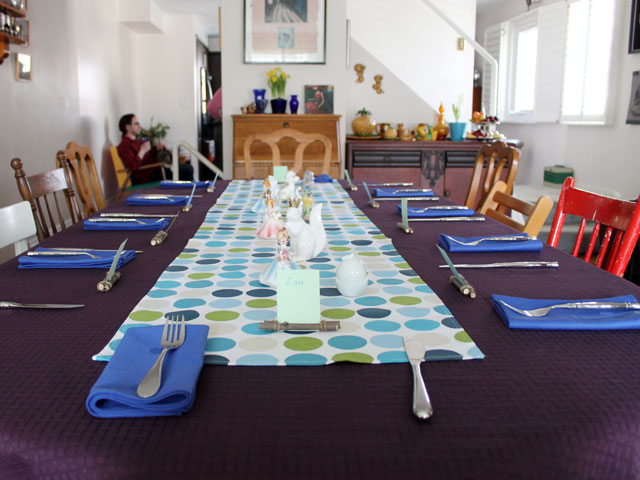
In case our friend Andrea sees these pictures and thinks, ‘Hey, I see my name there but I don’t remember this dinner!’, these shots are a mock-up to show how the place cards look while in action. You can see that they have a rustic look that would suit casual or more formal dinners and could work year ’round.
And if after dinner, your group is participating in a raffle, a game of charades, or a round of Secret Santa, you’ll already have everyone’s name written down and can just plop the cards into a hat.
Thanks for checking out my post.
Wishing you a great week,
xo loulou
[ Follow-up : Care to see these place card holders in use at an actual dinner party? Check out this post. They worked out very well and looked pretty cute on the table. ]


