How to Add a Spout to a Canning Jar and a Recipe for Salad Dressing Using It
We eat tossed salads often and like to have them with a quick and easy homemade dressing that I’ve been making since I first began cooking. To save time, I make a lot of it at once and then store it in the fridge to use with several salads.
While I really like the dressing I’ve never been happy with the various containers I’ve tried to make it and then store it in. For a long time I used a re-purposed olive jar, but since you have to give the dressing a good shake when making it and then again whenever you serve it, the lid of the regular jar would get kind of gross. Also a regular jar didn’t pour very well and was always drippy. Thirdly, it didn’t look very nice on the table, so I would decant the dressing into a serving dish when we had company, which then required an additional ladle at the table.
This is a long way of saying that I love this new container we’ve been using lately, in which I make the salad dressing, serve it and seal and store it. It’s just a regular 500ml canning jar (ours happens to be a Mason jar, although any brand of canning jar are called Mason jars by many people) — these are the kind of jars that have those two part lids — a flat piece and then a ring that attaches that to the jar. I’ve modified it by adding a spout with a screw on lid.
I first saw the idea to add a spout by using part of an empty juice container, on Pinterest, but that version didn’t look very nice because you could see the writing that was on the original container. So I took the idea a step further by hiding all except the spout part of the juice container with a black (although the colour is up to you) piece of plastic, giving the the container a clean and sleek look that is nice enough to put on the table for company.
Since juice containers are made from waxed cardboard, it can be gently washed between uses (I wouldn’t soak it though). The plastic part, which is also washable slips right over it. An added bonus of the plastic part is that it can be used as a template to make a fresh spout anytime. You just slip it on the spout of a used juice container, trace around it, and cut it out. So once you make one, you can quickly make more.
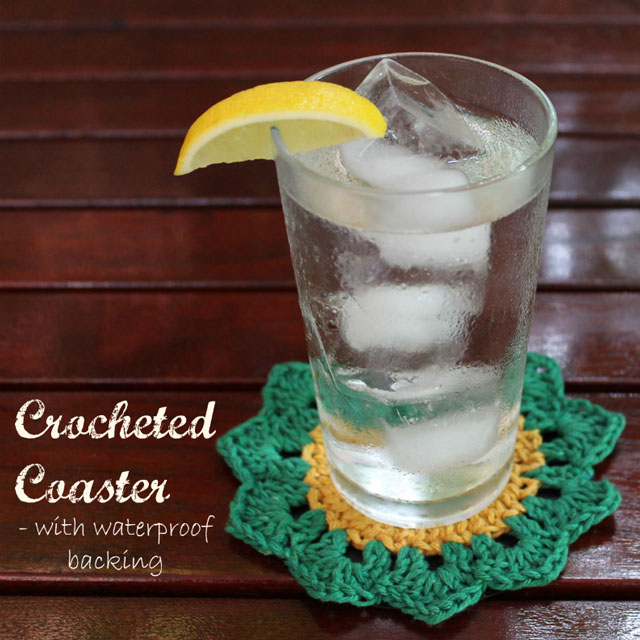
The thin plastic I used is taken from a binder I found in the stationery department at Dollarama. They come in many colours, so you can pick whatever you want. (Note that you do ruin the look of the binder by cutting a piece out of it, but you can use the plastic for other things too, such as making a quick funnel. I also used this stuff for the backing of these crocheted coasters, and I have a piece of it under Eddie the cat’s food and water bowls. Anyway, having some thin plastic around is handy so the whole binder isn’t wasted.)
Here’s what you do :
Cut the spout area from a rinsed out cardboard juice container, leaving a lot of room around the spout.
Using the flat part of your jar lid, on the back of the spout piece, trace around the spout, so that it will be situated towards one side of the circle, but remember to leave a little room at the edge for the lip of the ring part of the lid. Cut it out. Make sure it fits perfectly inside the ring part of the jar, trimming as needed.
Cut a square out of the plastic — I suggest cutting it quite a bit larger than the juice container circle, so you have room for error. You’ll be cutting the hole for the spout to come through first. Remove the screw top from the spout and using the juice container circle as a guide for placement, cut the hole for the spout to come through the plastic. I found an Xacto-knife and small pair of scissors to be handy here. Once that fits nicely (you want it to be a pretty snug fit around the spout), while it’s fitted over the spout, trace the circle onto the plastic (a regular pencil should show up well enough to see the line.). Remove the spout piece and cut the circle out of the plastic. Again, trim until it fits perfectly within the rim part of the jar lid.
Layer the plastic part over the cardboard part and screw them both to the jar with the ring part. The flat disk part that originally came with the lid is no longer needed.
To make replacements, once the juice container piece wears out, use the plastic part as a template. Trace around it and cut a new spout.
(Wow, that was kind of hard to explain! I hope it’s clear. Hopefully these pictures help.)
↑ What it looks like without the plastic disc part. It works fine like this but isn’t as nice looking. ↑
Once you make your handy-dandy canning jar salad dressing container, you’ll want to make the dressing to put in it. Here’s my recipe (below the pictures).
↑ Before shaking it up ↑
Homemade Creamy Salad Dressing

Ingredient Measurements are all approximate, as each ingredient can be adjusted to suit your personal taste. Also this is meant to be quick and easy to make, so you can put away the measuring cup and spoons and eyeball the amounts.
- About 2/3 cup each of Mayonnaise and Sour Cream (or Greek Yogurt)
- About 1/4 cup each of Red or White Wine Vinegar, Olive Oil and Milk
- About 1/2 teaspoon each of dried basil, oregano, dill
- About 1/4 teaspoon each of garlic powder (or 1 small garlic clove, minced), onion powder and salt
- About 1/8 teaspoon cayenne (optional)
- Those are the basic ingredients — if you’d like you can also add a daub of Dijon Mustard and a shake of Worcestershire Sauce.
Instructions
Put everything in a jar and give it a good shake. Thin with more milk if needed.
Serve immediately or let flavours mingle for a few hours. Keeps in the fridge for about a week.
This is good poured over any combination of tossed salad ingredients.
Description
Creamy salad dressing
Ingredients part 2
Instructions part 2
Description part 2
Ingredients part 3
Instructions part 3
Description part 3
Ingredients part 4
Instructions part 4
Description part 4
After you’ve made this a couple of times, you’ll be able to whip it up by memory. Imagine being asked to contribute a tossed salad to a buffet dinner and showing up with homemade dressing in a cute and useful jar that you can leave behind for the host. I’d say you’d be invited back!
We’ve used this jar regularly for a couple of months now and the waxed cardboard has held up surprisingly well. To clean it, you just take the pieces apart and gently wash the cardboard part. The rest can just be washed normally. I have an empty juice container on stand-by to make a replacement, but haven’t needed it yet. (Nick keeps trying to toss it in with the recycling. He has a hard time understanding why I keep trash around. You should have seen his face the other day when I asked him what had happened to the two empty tissue boxes I was saving! They were purple with a cool pattern and I’d planned to make more bookmarks.)
Thanks for checking out my post. It’s Thanksgiving weekend here, so Happy Thanksgiving to the Canadians out there reading this. The weather is supposed to be nice, so we plan to just hang out in the city and be outside as much as possible!
xo loulou


