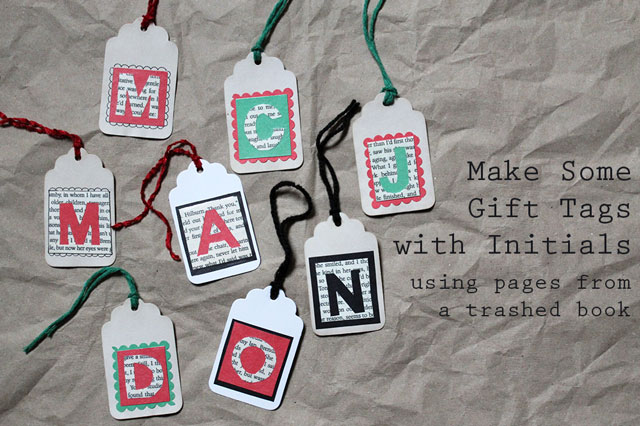
Thanks for checking out part two of my ‘Wrapping Christmas Presents For Our Young Relatives’ posts. Yesterday here I showed you the Initialed Gift Tags I made using pages from a trashed book, and today I will show you the flowers I made using coffee filters.
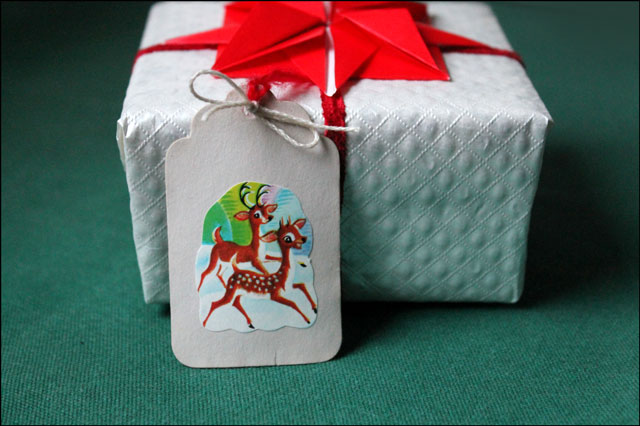
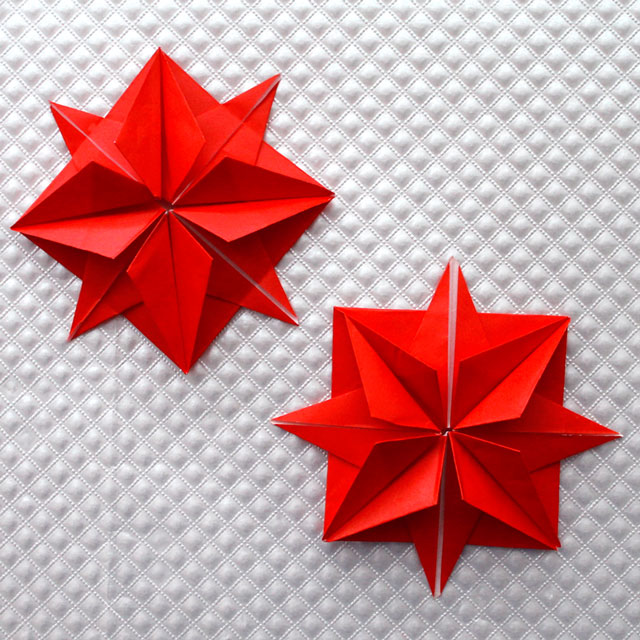
Note: these are “crushable” gift toppers, meaning they can be squished and will still look nice. I needed something to decorate these gifts that could withstand being put into a box and mailed. Last year I made these gift tags using vintage Christmas Seals and these Origami Star Decorations that could be flattened to be mailed, and this year I wanted something equally as pretty and practical.
Before I proceed I must mention though, that we got all the packages in the mail by yesterday, just in time for the guaranteed be-there-before-Christmas deadline. The task was a tag-team effort, as I did the wrapping and packing up and Nick did the post office runs (yes there were two of them because I wasn’t quite ready with one package the first time he went). The poor guy had to stand in line behind a guy who was disrobing most of his clothing and had it all over the floor, trying to pack it into a box to mail somewhere. That was the highlight, among the long waits behind many customers, that only come with mailing things in December. So I guess you could say that ‘Nick mailed the parcels in the nick of time, in order to meet the schedule of Saint Nick.’
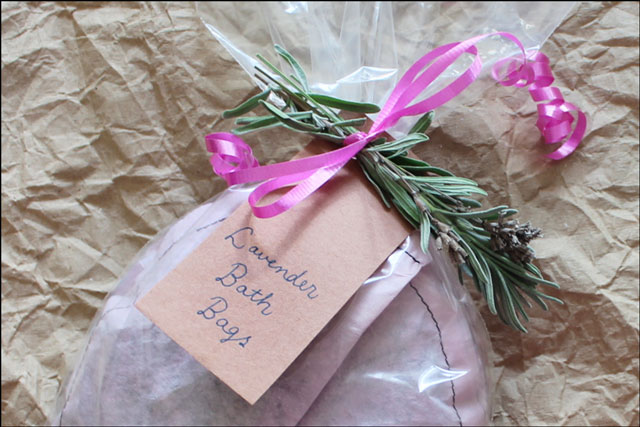
So onto the Coffee Filter Flowers … As were the gift tags I posted about yesterday, these too were partially made with trash, as it has been years since we have had a coffee maker that uses filters. (We switched to a Machinetta when our last electric drip coffee maker died and just never went back. The coffee is that much better!) So these filters have been kicking around waiting to be used up in different ways for a while now. You can see the Lavender Bath Bags I made with some of them last year here, if you’d like.
The beauty of the coffee filters to make these flowers is that the paper is a lovely texture and really really strong, so it doesn’t tear. I did try to make one of these with tissue paper and it didn’t turn out well at all because of the tearing, so if you don’t have any lying around, buy yourself some basket-style filters to make these.
I wanted the aged looking, so I first soaked them in a bath of tea for about 20 minutes, and then laid them out on a plastic sheet to dry. Though I also left some plain white too.
Here’s What You Need to Make a Coffee Filter Flower Gift Decoration :
– 2 coffee filters per flower, tea dyed or not.
– 1 button of any style, as long as the hole(s) are big enough to pass some yarn or sting through.
– some thin cardboard. (also rescued from the trash!)
– a 12 inch length of string or yarn.
– a large sewing needle, with an eye large enough to pass your string through.
– Optional – a needle threader, so that you won’t go nuts trying to thread your needle, which you have to do twice per flower.
How to Make a Coffee Filter Flower Gift Decoration :
(These are easy to make but a bit hard to describe in writing so please refer to the Pictorial Tutorial (Did I just make that term up?) to see what I mean.
( 1) Fold each filter 5 times to make it a small folded triangle.
( 2) Optional step : cut the triangles on the diagonal to make shaped petals. Make one of your two filters smaller then the other.
( 3) Line your two filters (smaller one on top), so the centres lay exactly one over the other.
( 4) Cut a disk about an inch and a half in diameter out of your cardboard. Just wing it … it doesn’t have to be perfect.
( 5) Place your disk smack dab in the centre of your filters and wrap the filters up over the disk, sort of making a little pouch with the disk inside.
( 6) Tie the disk inside with your string, leaving the same amount of string hanging on either side of the knot.
( 7) Spread open your coffee filter flower.
( 8) Thread one end of the string onto your needle and pass it through the flower to the front side.
( 9) Pass it through your button and back through the flower, and right through the disk of cardboard enclosed in the coffee filters.
(10) Let that string hand loose and thread your needle onto the second string.
(11) Repeat by passing the string from the back to the front, through the botton hole and then back through the flower to the back.
(12) Tie the strings together in a knot. This gives you a tie to use to attach your flowers to your gifts, (or garlands or branches or whatever).
(13) Play with the flower a bit wrinkling it up, trimming and shaping, ’til you get it just how you like it.
↑ Those ones were made with filters that were left plain white. ↑
It’s worth mentioning that these flowers, the crocheted chain ‘ribbon’ and the packing-tape laminated gift tags can all be reused, and I like the idea of that.
↑ Please Click here to see the tutorial on making the Initialed Gift Tags. ↑
How is your Christmas wrapping coming along? So far I have these ones done and the gold package for Nick and that’s about it. I still have plenty of shopping to do, but some good ideas of what I’ll be looking for, so it should go alright.
Thank you very much to taking a look at these flowers. I hope you’re enjoying the lead up to Christmas.
xo loulou


