Valentine’s Day … some love it, some hate it, and some choose to just ignore it.
February 14th has been a day to commemorate love for over 618 years, said to have begun in the 14th century within the circle of Geoffrey Chaucer, the writer, poet and philosopher, known as the father of English Literature.
I’ve seen it referred to as a “Hallmark Holiday”, existing only as a means to promote commercial spending, however, given that it has been celebrated for over six centuries longer than the Hallmark Greeting Card Company has existed, that’s just not true!
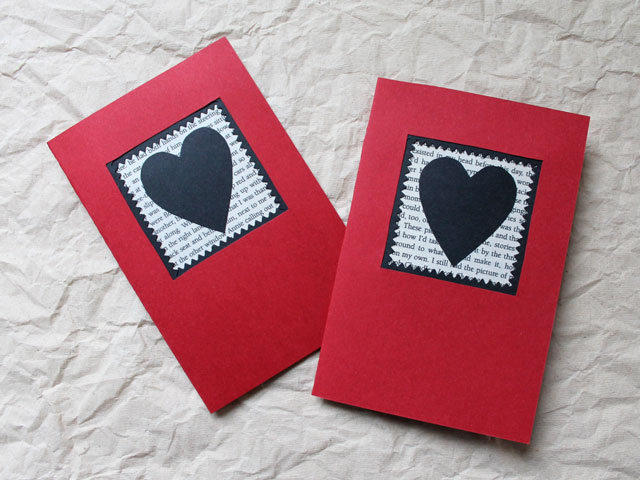
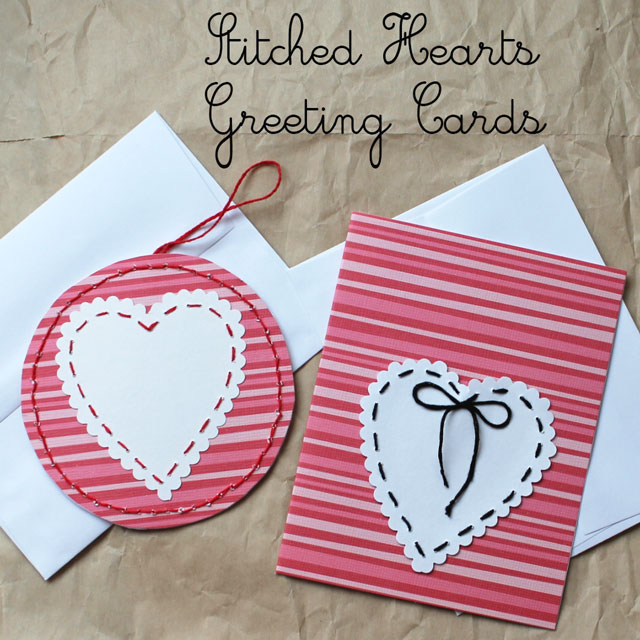
Personally, I’ve always liked Valentine’s Day. As a lifelong fan of stationery and old-fashioned mail, I have fond memories of preparing cards for my school friends as a kid. I loved that tidy stack of tiny envelopes, ready to distribute. I remember a craft project in grade one, where we were all asked to bring an empty tissue box to school, which we then painted and decorated. Our finished creations were lined up on a shelf and on Valentine’s Day, we “mailed” our cards to our friends. A funny little story about that particular Valentine’s Day … there was a boy who gave me two cards that were exactly the same. I assumed it was a mistake. But then, 11 years later when we spoke at a party, we had a laugh as he revealed that it had been intentional because he really loved me, back when we were six! He was the silent type and I’d had no idea, haha.
Nowadays, in a long-term relationship, Nick and I enjoy doing a little something special for Valentine’s Day. Nothing grand or expensive, just cards, small token gifts, and a thought-out dinner, eaten on a properly set table with a bottle of nice wine. We always play the Chet Baker “My Funny Valentine” cd that I got him our first year together.
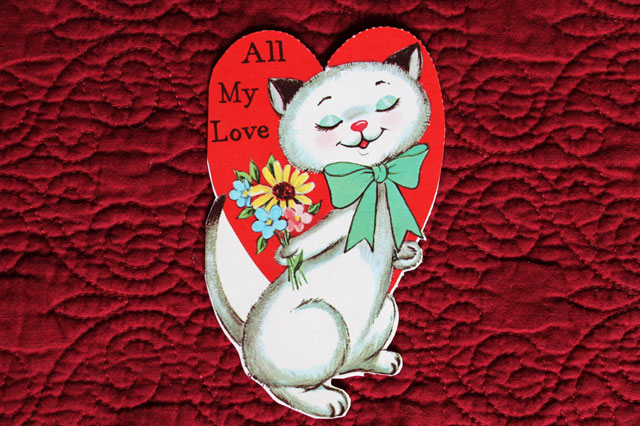
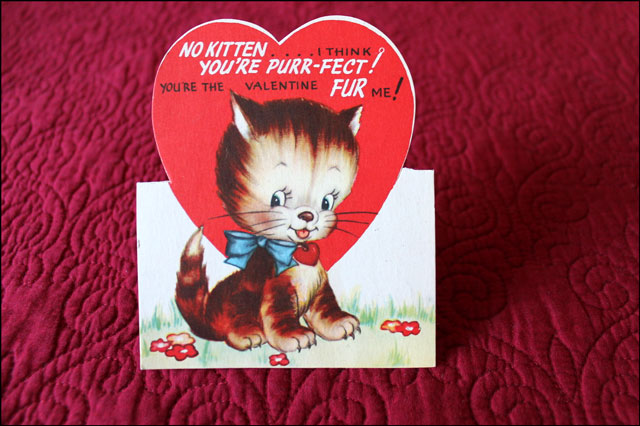
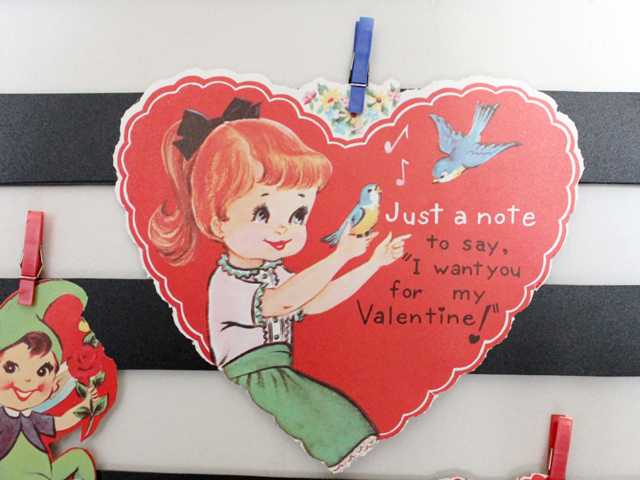
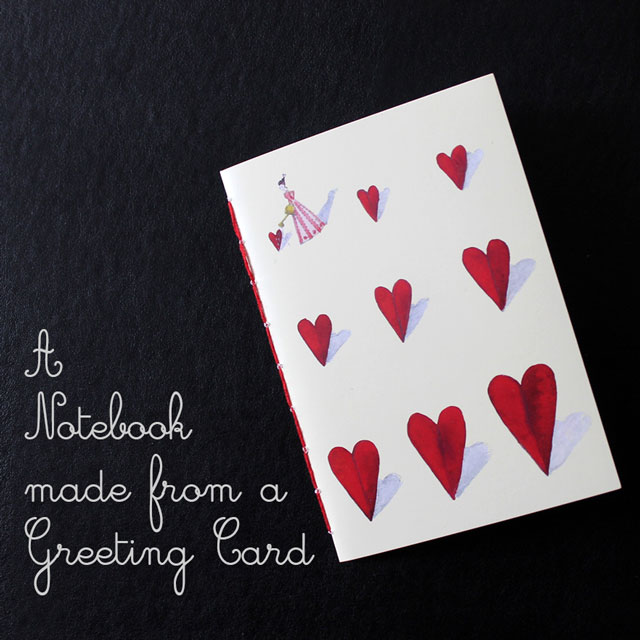
Mail is still a big part of the holiday, and I always mail cards to the younger children in my life. My stash of original vintage Valentine Cards is one of my favourite collections (see some of them here, here, and here.) I got a fabulous book of them from the 60s recently, in mint condition, which I’ll post about next week.
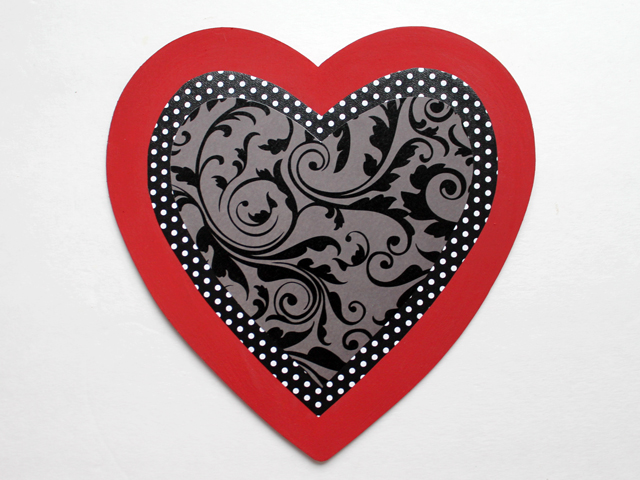
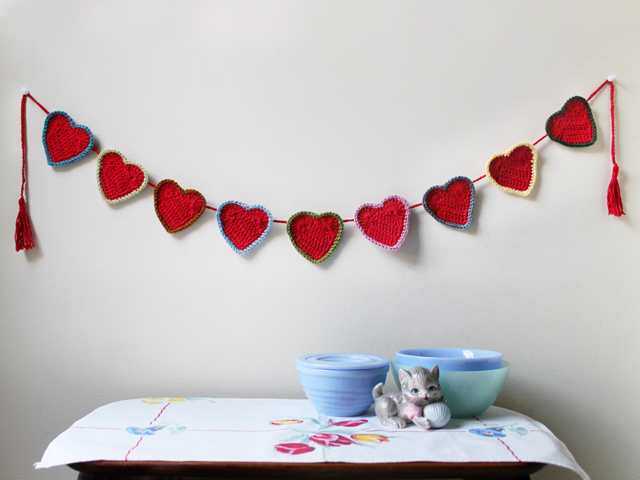
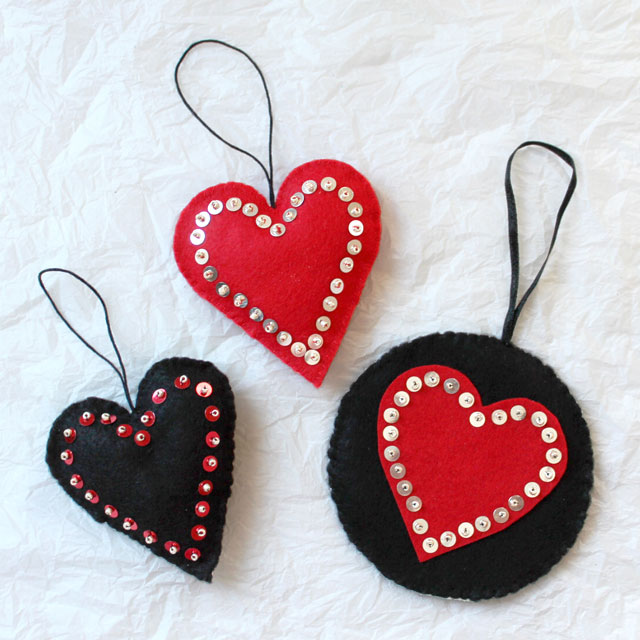
I also love the look of heart-shapes and the colours combination of deep red, black and white, so over the years, I’ve taken advantage of the holiday to incorporate the pallet into my crafting, making small decorations that I sprinkle around the house.
All that said, I completely understand that not everyone sees this holiday the way I do, and I’m not here to convince anyone to join me on the side of hearts and cards. However, if you’re already on the “like it” side, perhaps you’d like to try making this wooden decoration.
Supplies are fairly easy to find at the craft store (I go to Michael’s at John Street and Richmond), except the two pieces of wood I used to make this thing stand up. Those come from one of those mandarin orange crates that I can never bring myself to throw away. These crates are stapled together, with no glue, so it’s easy for an adult to take them apart with pliers, to get the two triangular pieces of wood you need for this project. If you don’t have an orange crate hanging around though, you can make this without the stand part, and hang it on the wall.
This is an easy make, that an older child could tackle. Supplies come to about $2. Again, though, I suggest an adult to the taking apart of the orange crate, if using. Those staples are very sharp.
What you need :
A store-bought piece of thin wood, a wooden heart — I found a fancy one but a plain one would work too (I got mine in the “wood section” of Michaels), some card stock, acrylic craft paint and some glue. Optional (see above) – two corner pieces of wood extracted from an orange crate, or two pieces of quarter-round wall trim, if you happen to have some of that. If you don’t have either of those, you can make a hanger on the back, with fabric tape, as demonstrated in this post.
How to Make it :
1) Glue the base pieces on either side of the thin wood, making sure they’re flush on the bottom. Let the glue dry — I left mine overnight.
2) Paint it. I just squirted the paint on and spread it with a foam brush. Mine took three thin coats of paint, letting each dry in between. It dried really quickly, so you won’t have to wait long.
3) Outline the heart on your paper. If you found a fancy laser-cut one like mine, cut it out so it’s just slightly smaller than the heart (so no edges of paper will be seen from the front). If you have a plain one, cut the heart beyond your outline, so it will stick out about 1/4 inch all around the heart, as a border. Glue the paper to the wooden heart.
4) Glue the heart to the painted piece.
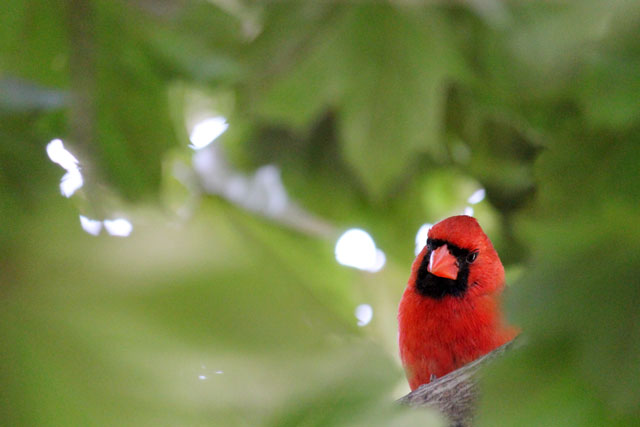
↑ Hey Mister! What are you doing here? ↑ (See this guy and his family in this post. Bonus, I caught a couple of shots of him feeding his baby.)
Thank you for reading,
xo loulou


