Card Making Idea : Use a Personalized Photograph
I always get a little stumped coming up with good card making ideas for the men in my life. So I had some thinking to do about what to make for Father’s Day coming up.
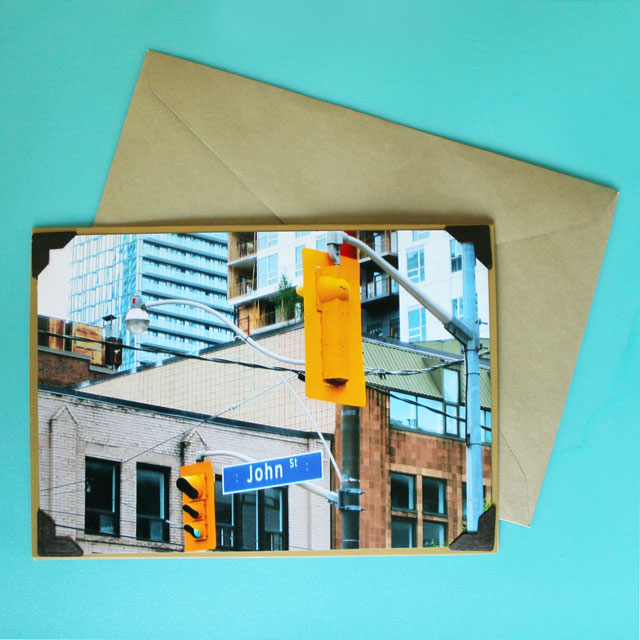
I ended up with something that merges a technique I’ve demonstrated here before — that is making a card using your own photograph (seen here and here, for example)– with something new — that is using photographs with a personalized element. In this case, I took pictures of street signs that beheld the names of each of our beloved dads, Leonard and John.
I was lucky to find both names relatively nearby, so was able to get the shots during one long walk, but I encourage you to take your photos whenever you come upon the name of a friend or family member on a sign.
It doesn’t have to be a street sign, as there are many stores and restaurants that have peoples’ names out front. Or, if you’re wanting to make a card for someone with a hard to find name, you could scrap the name altogether and use a picture of a place that holds a special meaning to the person, such as the outside of the cafe where you first met, or a marina if they’re really into boats. Or a candid picture of them, that they didn’t realize you’d taken, would be fun. You get it, any photograph that makes the card personalized for the person you’re making it for.
In the past, when I’ve used photographs to make these kinds of cards, I’ve either printed them up on my home printer, or had colour copies made at a copyshop. But for these ones I went to a photography shop (West Camera at 514 Queen Street West) and had actual prints of the pictures made up. I should say, that I made the prints myself, using one of their handy-dandy machines. All I did was load the images on a USB key (saving it as a jpeg, in the highest quality and largest version I could). Then I just stuck that into the machine, pressed a few buttons, and presto, in seconds, I had a couple of beautiful glossy prints. I was surprised to see that they only cost me 88 cents total! That’s quite a bit less than I paid for colour copies, and certainly less than buying a colour cartridge for the home printer we hardly ever use.
When you find a name that you want to photograph, I recommend you take a few shots from different angles, to make sure you get one that is perfect for this use. You might want to crop the picture and perhaps tweak it a bit to brighten or sharpen it, which you can easily do for free over at www.picmonkey.com.
Here are the photographs that I ended up using :
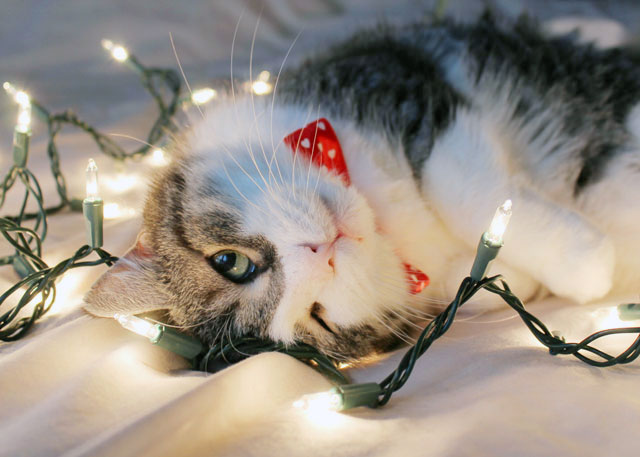
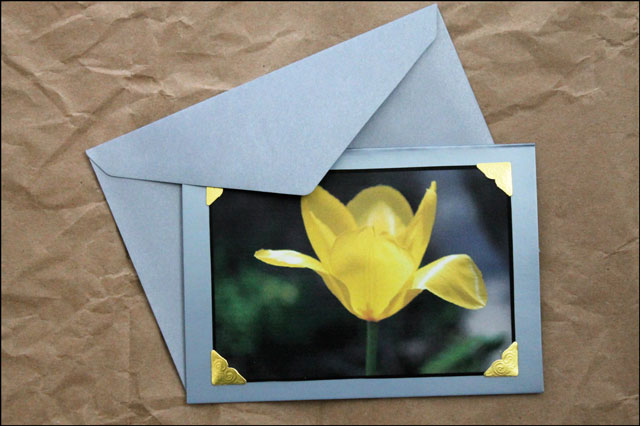
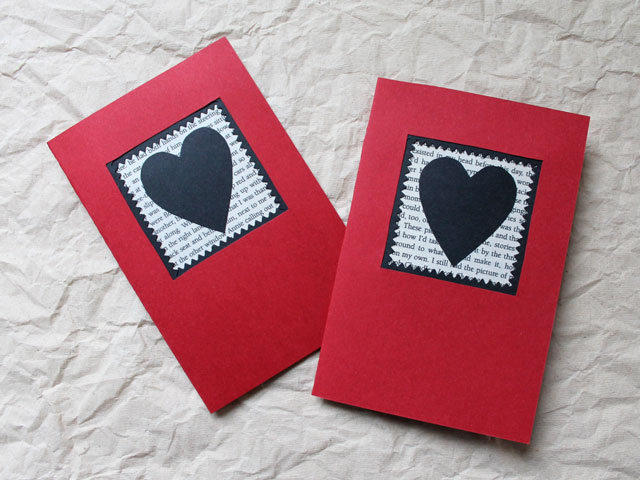
And here are some others :
Supplies:
– A print of your chosen image. I made mine 4×6 inches.
– I chose to use some pre-made card bases with matching envelopes (Canadians can find packages of these, in many colour choices, in the craft supply section of Dollarama). But, if you’d prefer to make your own, it’s pretty easy (I previously included guidelines on doing this here).
– Other supplies include two-sided tape, and some vintage style photo corners, for texture and decoration only, but those are optional. Also optional, but a nice touch, is a plain piece of folded cream coloured paper for the inside.
What to do:
– Trim your photo if you need to. I had to cut my prints down a little to fit the card base, and just used an Exacto-knife, ruler and cutting mat to do that.
– Then stick the photograph to the front of your card base, using two-sided tape. If you’re going to use photo-corners, make sure to put the tape towards the centre of the photos, so the corners will fit onto the loose corners of the photo.
– To finish the inside off with a special touch, write your message inside the folded plain piece of paper and stick that to the inside the card, using a strip of two-sided tape, situated next to (but not covering) the fold in the card. Avoiding the fold will allow the card to open and close nicely. If you’re not sure what I mean by that, there’s a demo here.
I hope you try this idea for this Father’s Day or for any occasion that calls for the giving of a greeting card.
Thanks for dropping over.
Wishing you a great weekend,
xo loulou


