Handmade Birthday Cards Using Gift Wrap
Here’s a little idea for making a birthday or gift card, using some wrapping paper.
You can make one to match a present you’re giving, or just as a card. In these photos you see examples of both. The card with the balloons on it was a birthday card I made for my father-in-law, and the one with the birthday cakes on it was one I made to go with a gift I gave to my friend Nyla, for her birthday last week. The third one, with the polka dots, is a little tiny one that I will use when bringing someone a bottle of wine (the wine in the picture was a gift to ourselves and used only to demonstrate).
All you’ll need to make one is :
– Either some pre-made blank cards and envelopes (like I used for the balloon one) or a card base you make yourself with card-stock (like the other ones). I made the pink envelope to match using a small envelope that I opened up and traced around (as shown in this post).
– A piece of gift wrap (I used some vintage paper I’ve had squirreled away — this is a good way to use something special since it doesn’t take much at all).
– A piece of card-stock, in any colour, that is smaller all around than the card-base (it should be the size you want the wrapping paper section to be on the front of the card).
– Some two-sided tape or glue.
Now, of course, you can make a card like this by just folding your wrapping paper on all sides and sticking it to the card-base, however, I’ve used the extra of card-stock to give the finished card a little more texture and, more importantly, because using it makes it a breeze to fold the wrapping paper perfectly, giving you nice crisp edges. Basically, you wrap the extra piece of card neatly with the gift wrap and then stick that to the front of the card. You can either leave the card stock wrapped within, or remove it. I’ve left it in to give the finished piece a little more dimension.
Here are some pictures to show you what I mean …
Since the one with the birthday cakes is on black paper, I added a piece of white paper stuck inside the card, on which I wrote my message.
For the one with the balloon, I included a part that said ‘happy birthday’ on it, that I got from a card making kit, but you can also re-purpose an old birthday card for that, or hand-print the message.
This is a simple way to hand-make a card, and it’s neat to have one that matches the wrapping.
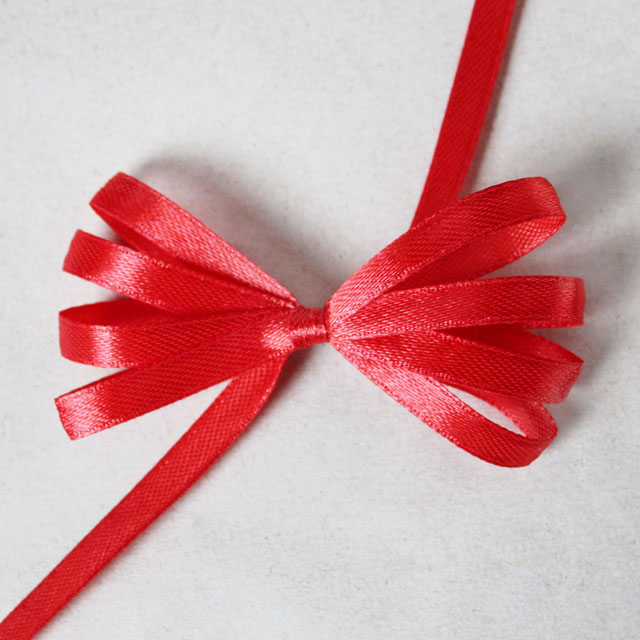
If you missed the post about how to make those bows, using a comb, check it out here.
I’ll be back on Friday to show you some pictures of what was inside the gift, and Nyla receiving it. I’ll also include some shots of the fun night out we had, along with our mutual friend, Julie.
Thanks very much for dropping by,
xo loulou


