How to Cross-Stitch on Paper : A Video Tutorial and Autumn & Halloween Pieces

*** UPDATE : Please go to the end of this post to find all the patterns I’ve done so far, updated every time I try a new one.
———————–
Hello!
You may know that I quite enjoy cross-stitching on paper, considering I’ve written about it several times on these pages.
Well, now I have a video tutorial demonstrating how to do it!
This fun-to-do quick craft involves transferring the pattern to paper as a first step, which can be done using two different methods, both of which are demonstrated in the video. Or, if you prefer written instructions and photographs, here is a post with instructions using graph paper, and here is a post with instructions using plastic canvas.
Also, in honour of the season, I’ve stitched up a couple of new pieces, one for Halloween and one for Autumn decorating.


I designed the Jack o’ Lantern pattern myself and you’re welcome to use it. These have been completed using all six strands of thread within a piece of embroidery thread.

The Autumn flower is the very same pattern we worked on in the video, except with a different colour pallete. The free pattern is found here.


↑ The flower completed using autumn colours. ↑

↑ The same pattern using springtime colours. This one was completed in the video. ↑

UPDATED : Here are links to all the ones I’ve done so far, updated every time I try a new one that works. Click to find either a link to a free pattern I found online, or to one that I’ve created :
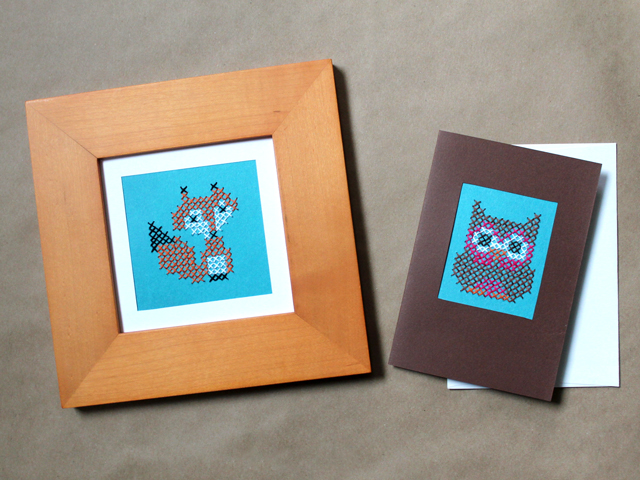
A fox and an owl (Includes written instructions for how to do the craft using graph paper to transfer the pattern)
A chick – great for Easter cards.
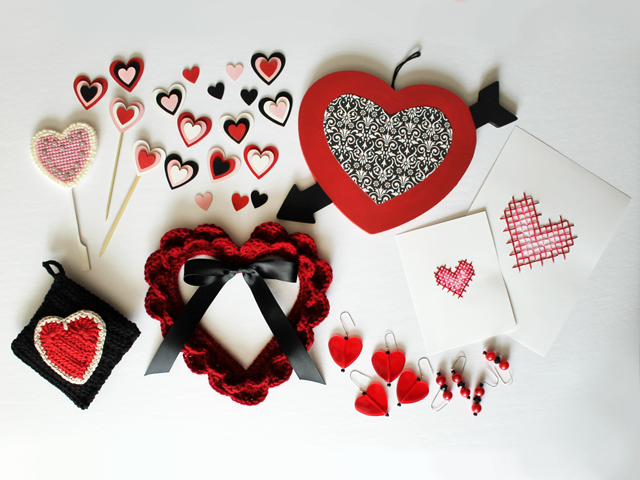
A heart – great for Valentine cards.
A clover/shamrock – for St. Patrick’s Day decor.
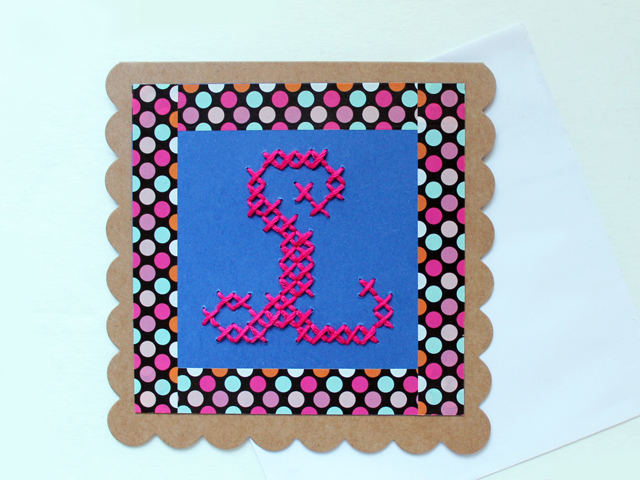
Alphabet Letters – great for initials on birthday cards. (Includes written instructions for how to do the craft using plastic canvas to transfer the pattern)
A flower (as seen in this post)
A Jack-o-Lantern – above in this post
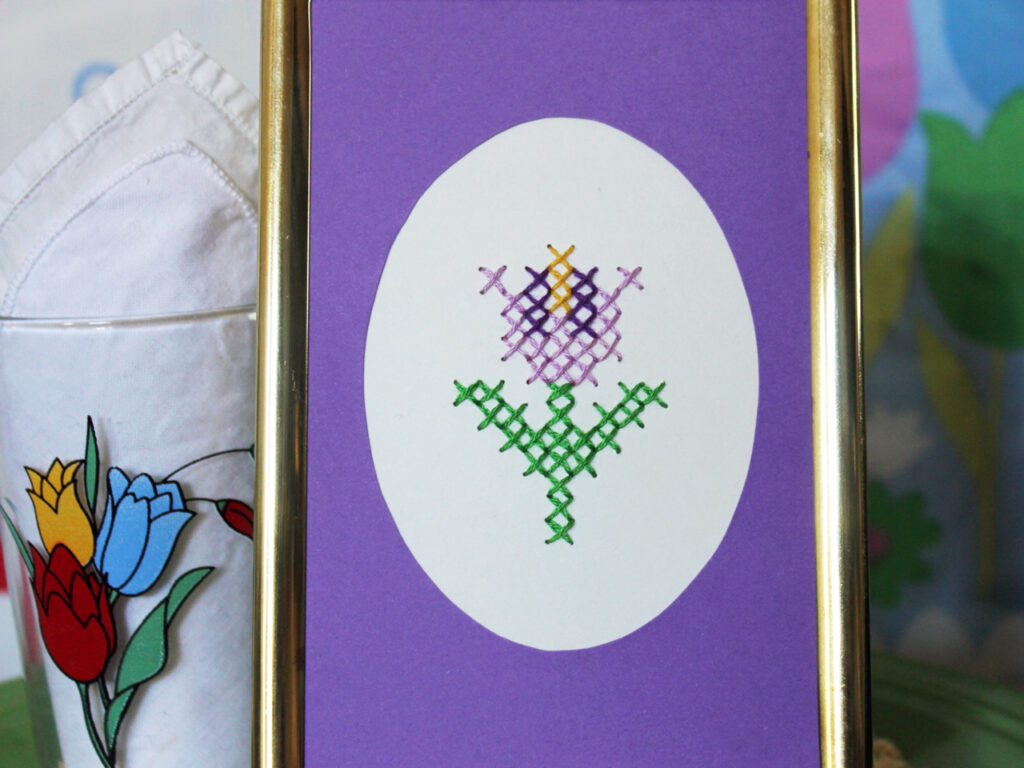
A Tulip – for springtime decor and greeting cards
xo loulou

