Making Things from Empty Tissue Boxes
You know those trips I take to the thrift store that I post about (like here)? The reason the visits are spaced out to be about once a month is that the Value Village I go to is a drive away, so Nick drops me off while he takes the car for a monthly ‘big’ shop at a No Frills store that is near the thrift store. For those who’ve never been, No Frills is a grocery store whose motto is ‘Won’t Be Beat’, in that they aim to keep their prices as low as prices get. He goes there to gets the basic pantry items that we use regularly, such as Olive Oil and flour, because why not get those types of things at a lower price if you can, as long as the quality is the same?
Anyway, the last time he went, he picked up a 6-pack of boxes of tissues, which I was all over because the patterns on the boxes were so colourful and nice looking. I was looking forward to using the clean printed cardboard to make stuff with.
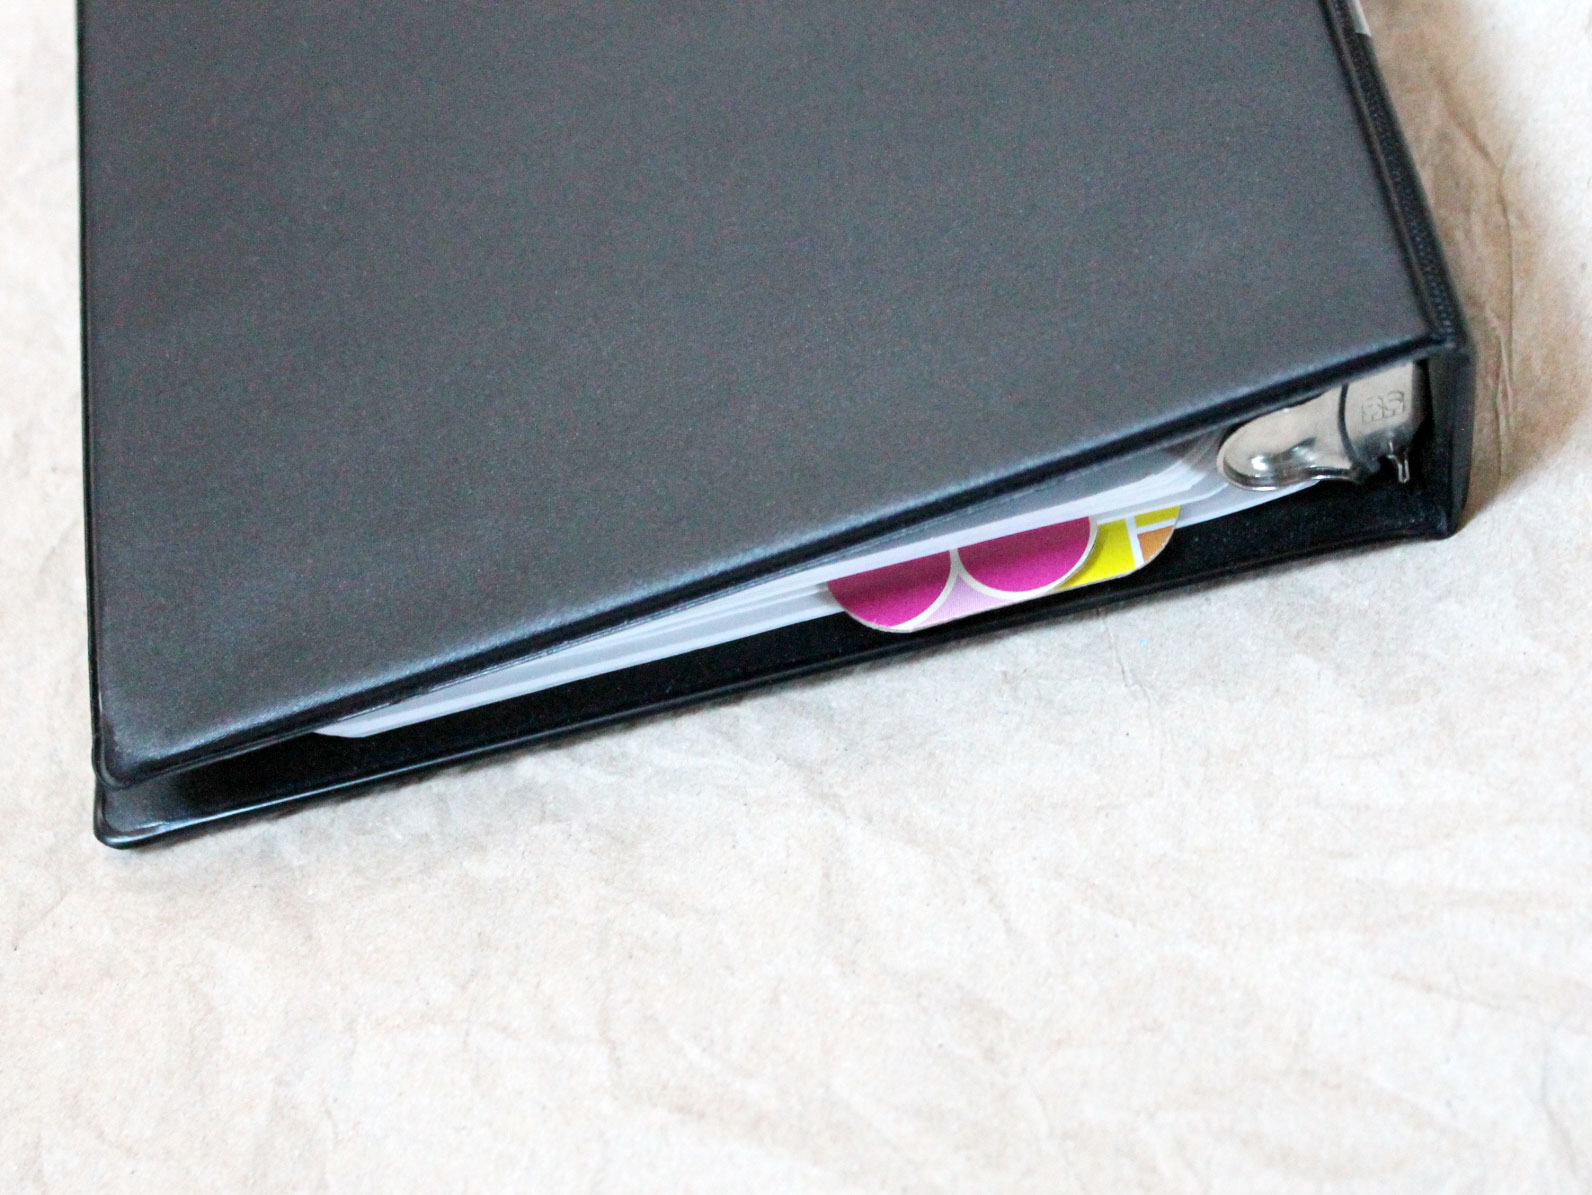
Dividers for my Planner : I love this small binder and use it every day. The size of the pages of this small ‘half-size’ binder are universally known as A5, and Daytimer products fit into it. They’re great at helping me stay organized but they’re not overly attractive, so I thought I’d spruce things up with some colourful dividers.
Each divider takes the two side pieces from a tissue box. Turns out the size is exactly right to fit this size of planner. All you do is cut them out and then stick them together, so that both sides will have the pattern on them. If you use two-sided tape like I did, cover the whole thing. Glue would also work.
Cut a tab at the top, so the divider will fit into your binder and be able to turn with the pages. Also, I trimmed my corners to give then a smooth rounded look, but it’s up to you if you want to do that.
Then you punch the holes. You can make two types of dividers — One is a stationary type, which you open the binder to move. I found that this style could be turned more easily if I made the holes a bit wider by moving the punch. The second type is a divider that can be pulled out and moved without opening the binder. For that one, make normal holes and then cut a v-shape next to them, with the point cutting right to the edge of the hole, as shown in the picture. This style won’t last as long, because the cardboard will bend when you move it, but since it’s just a tissue box, and you can easily make another one when it won’t stay in your book anymore.
If you have an official Daytimer binder with the 7 rings, you’ll have to punch 7 holes. These will work in a Filofax binder if you punch 6 holes to fit their 6 ring system.
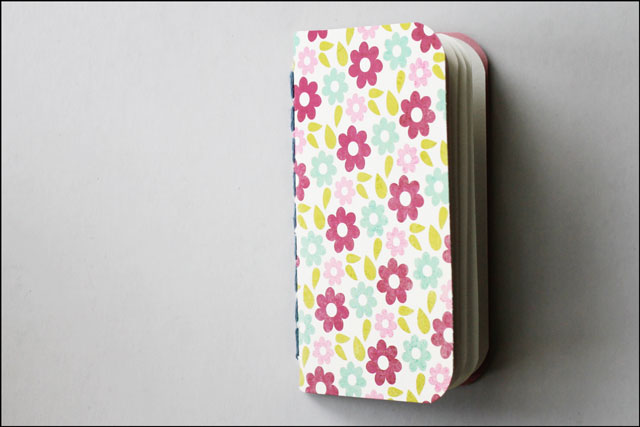
A Notebook : Next I made another a notebook, which closes like a pack of matches. I love these handy little pads, which I previously explained how to make in here post. For this one I used the entire side of a tissue box, and the finished pad is about 2 1/2 x 3 1/2 inches.
Bookmarks : The third thing I made were a couple of bookmarks. These were made a little fancy with the addition of stitching around the edges, a braided ‘tail’ and the application of a sticker on one of them. The stitching is done with embroidery floss, using 3 of the 6 threads. Then a couple of additional pieces of floss are attached, to make a thicker braided part. In order to make the stitching easier to do and more even looking, I made holes around the edges with an awl first. A tack would also work for that.
These three things were quick and easy to make, and turned out pretty cute. So keep your eyes peeled for some good looking tissue boxes!
Thanks for taking a look,
xo loulou


