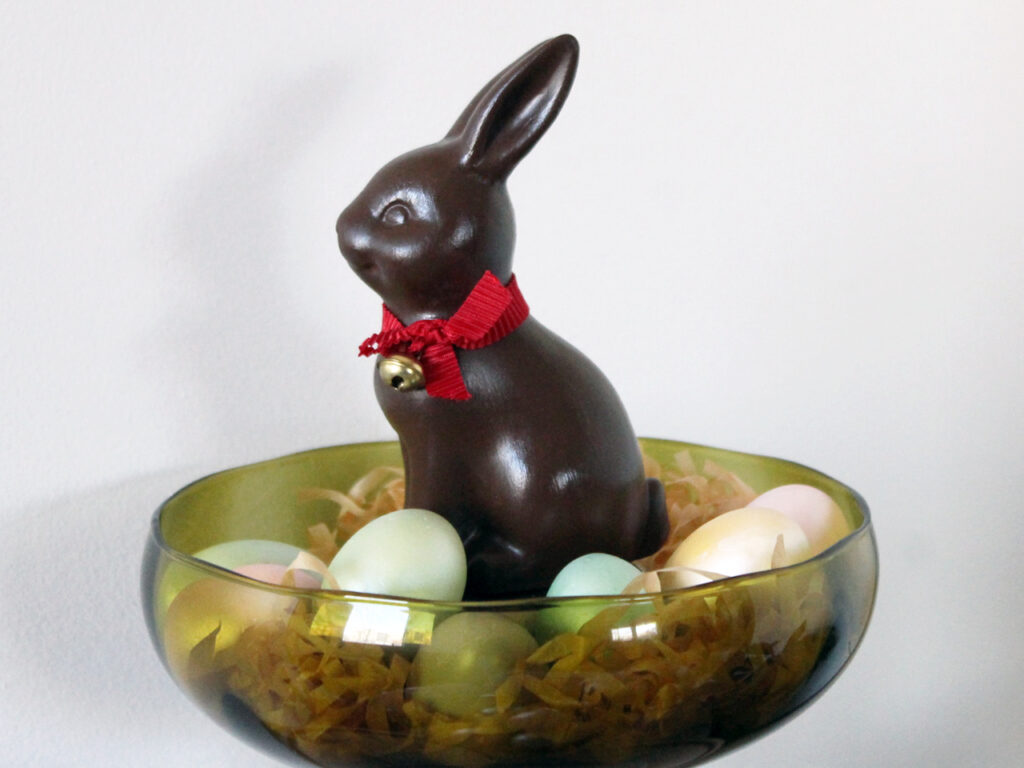
Week 14 Creative Challenge : Painting a Ceramic Bunny Figurine to Look Like Chocolate
Hello and Happy Easter if you celebrate!
Ok, some of you might think what I did for last week's Creative Challenge is kind of weird. I'll admit when I first saw a faux chocolate bunny in the seasonal decorating section of Winner's about a decade ago, I couldn't quite get my head around why someone would want a fake chocolate rabbit. Fast forward to a time when these have become more common and beautiful photos on Instagram have made it clear how lovely these look within an Easter vignette, and I was ready to try making one myself. Plus, I though it would be fun and it was.
Week 13 Creative Challenge : Crocheted Easter Eggs
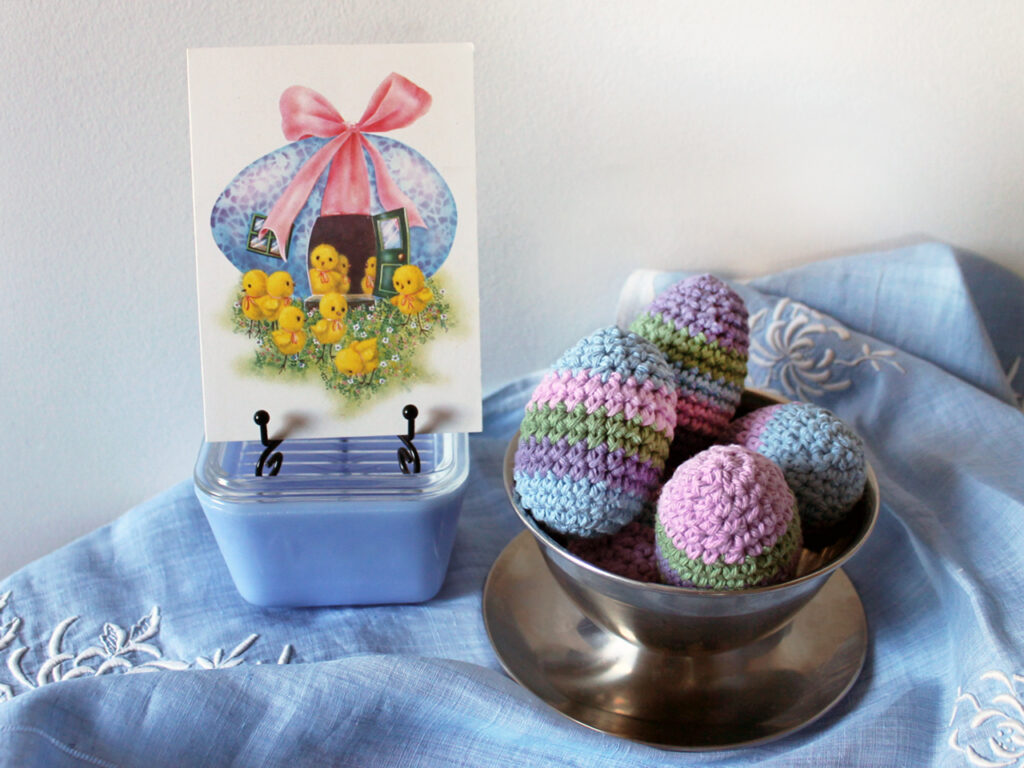
Hello and Happy April! Last week for my Weekly Creative Challenge, I crocheted some Easter Eggs.
By using worsted weight cotton yarn (I used this kind by Bernat that I found at Michael's) and a 4mm hook, these work out to be just slightly larger than a regular chicken egg. I do plan to also make some mini ones using finer cotton yarn and a smaller hook.
Each only takes a small amount of yarn and they are a great stash-busters to use up what you may have on hand. I ended up using the last bits of 4 skeins I'd been working through, on this Easter Wreath project and this Easter Basket project.
Week 12 Creative Challenge : Fabric Carrots with Crocheted Greens
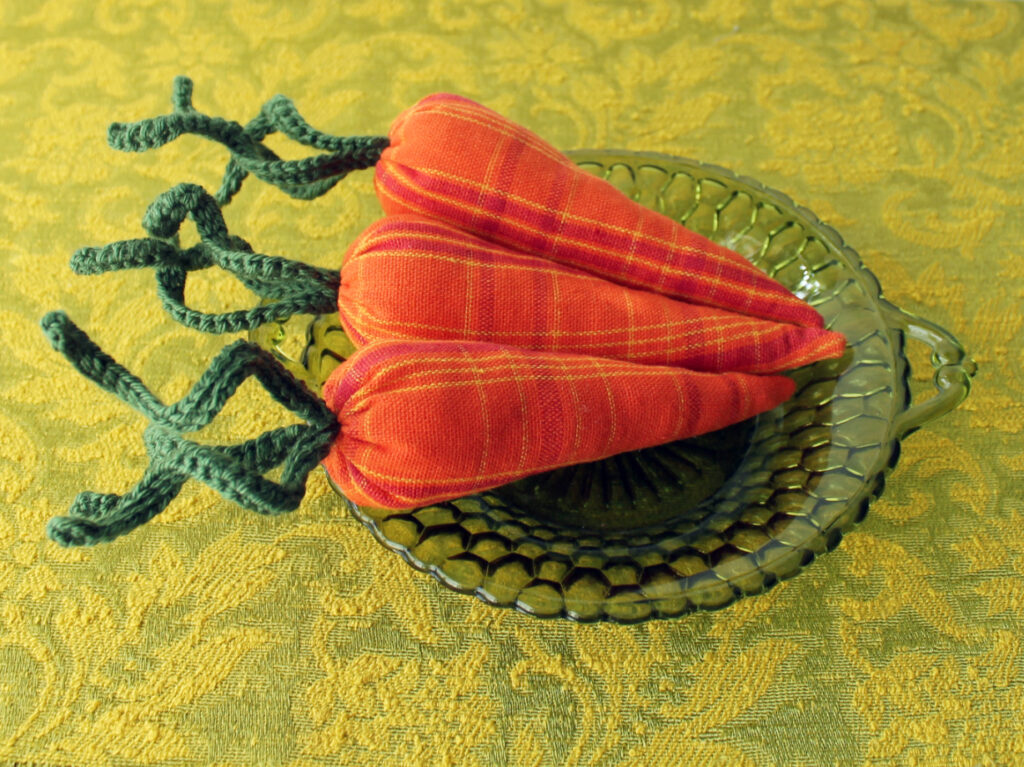
Hello. Last week for my Weekly Creative Challenge, I made these carrots for the fun of it. I've seen cute fabric carrots for sale in the shops for the past several years, to be used for Springtime and Easter decorating, but I never picked any up because I kept telling myself that I'd try to make my own. Well, this was the year that I did that!
To make them you need some orange plain, plaid or printed fabric. The cotton I used was part of a placemat I repurposed. And, although you could use green ribbons, strips of felt or plastic greenery, I used some yarn and wire and made some bendable pieces to mimic the greens. You also need some stuffing and a needle and thread.
Here's how to make them :
Each was made from an 8 inch long isometric triangle. With the good side inside, machine stitch or hand stitch into a cone. (I just hand stitched mine). Knot the thread and cut. Turn right-side out.
To make the crocheted greens, cut a piece of thin wire to be between 3 and 4 times as long as you want the piece to be. Mine were about 16 1/2 inches long. For each carrot you need three of these.
Fold the wire in half. Leaving a tail of about 4 inches, attach your yarn and make a row of single crochet stitches along the folded wire, moving toward the folded end. Mine ended up being 5 inches long when straight, and took 21 stitches. When you get to the folded end of the wire, change to making single crochet stitches to only 1 thickness of wire, making 5 stitches that slide around and cover the curve of the fold. Go back down the other side with single crochet stitches between the ones from the first side, encasing both thicknesses of folded wire within the stitches. Finish and leave a tail of 4 inches before cutting the yarn. You don't have to weave in the ends because they'll be hidden within the carrot. You'll be left with several inches of both ends of exposed wire, about 5 inches of crochet covered wire, and the 4 inch pieces of yarn tails.
Stuff your carrot cone. You might find a chopstick helpful to get the stuffing into the end.
Twist the bare wire of 3 pieces of "greens" together to make a bundle, wrapping the ends of yarn around them. Stick the greens into the stuffing.
Thread the needle again, and do a running stitch along the open edge of the carrot cone. Leave the needle on the thread, grasp the other end of the thread and gently pull to gather the opening shut around the "greens", tucking the raw edge of fabric down inside the carrot. Stitch a few times to make sure the greens can't be pulled out. Knot your thread and hide the end by sewing through the carrot. Cut the thread. The end of it will be hidden inside the carrot.
Twist the greens into a shape you like. The wires make them hold their shape.
Week 11 Creative Challenge : An Embroidered Handkerchief
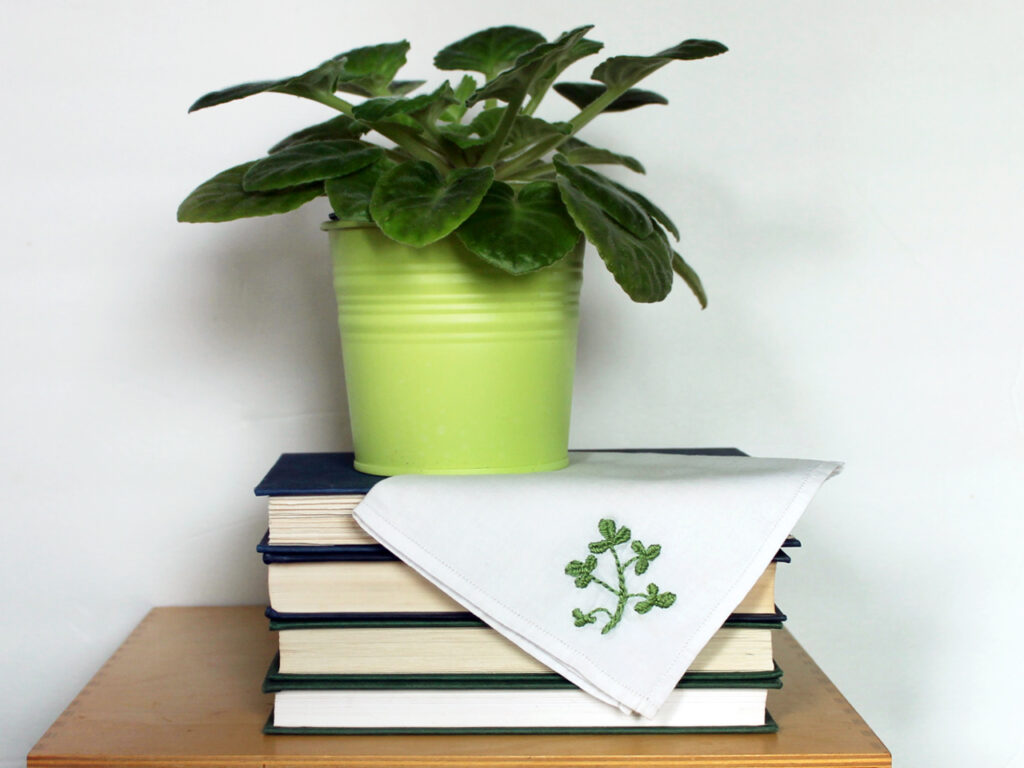
Hi. I hope you've had a good week. For my Weekly Creative Challenge, last week I embroidered some clovers on a plain cotton vintage handkerchief that I already had.
It was stitched freehand, using a length of pearl cotton thread I had left over from a couple of other recent projects (previously posted about here and here). I've never embroidered with pearl cotton before — it’s a single twisted strand rather than 6 separate thin threads that make up the floss usually used for embroidery — so, that was a new creative experience.
I knew I was going to try making clovers but had no idea what the exact pattern would end up looking like, so it took shape as I went along. I just kept on stitching until I'd used up every bit of that remnant of thread.
Of course, the holiday for which we usually use a clover motif, St. Patrick's Day, is over, but rabbits eat clover, so I might use it in spring/Easter decorating, or I might put it away until next year.
Week 10 Creative Challenge : Wooden Shamrocks and a Rainbow Doily
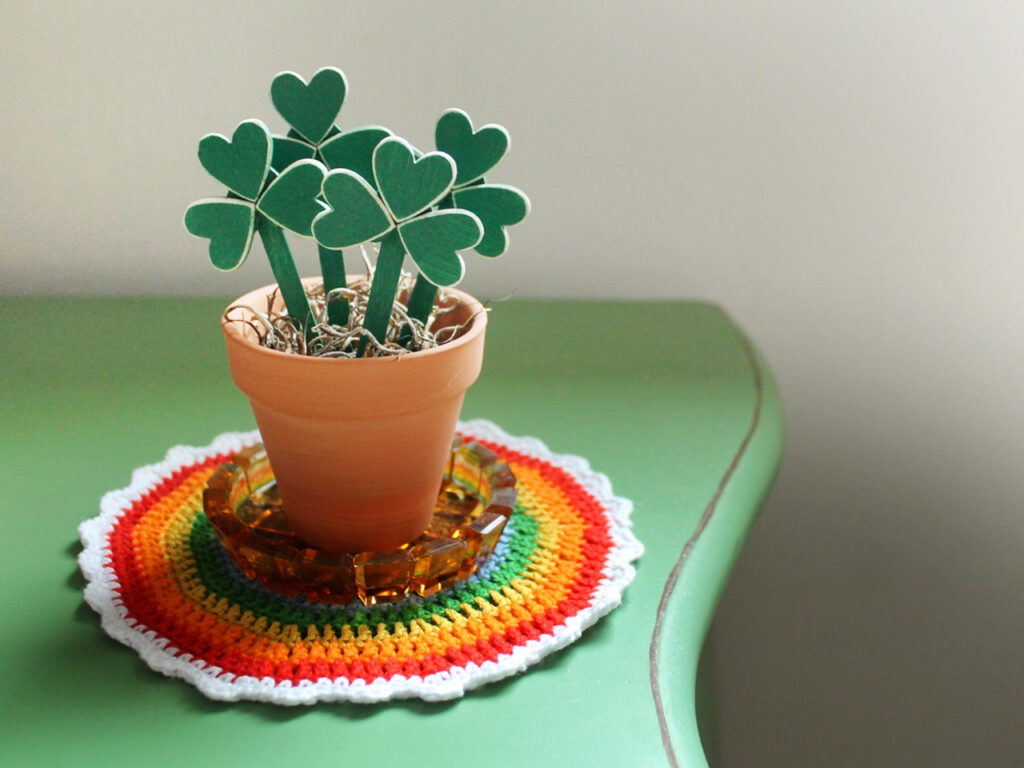
Hello! Here is what I made last week to meet my Creative Challenge Goals for 2023 (as introduced in this post). These are some decorative items to use for St. Patrick's Day. The image above is deceptive in regard to size as that flower pot is a mini one only 2 1/4 inches tall.


