Embroidering on Felt to Make a Lavender Sachet
Hello and happy Monday to you! I hope you had a good weekend. Things were quiet around here, as I still can’t walk any distance after my foot surgery, but it is getting better and if all goes as hoped I’ll be able to get back into regular shoes after my appointment on Friday. It has been a haul but my foot feels so much better than it did, so I’m happy.
Being forced to spend all my time sitting around has resulted in lots of making of things, one such thing being this Lavender Sachet, made with felt that I embroidered on.
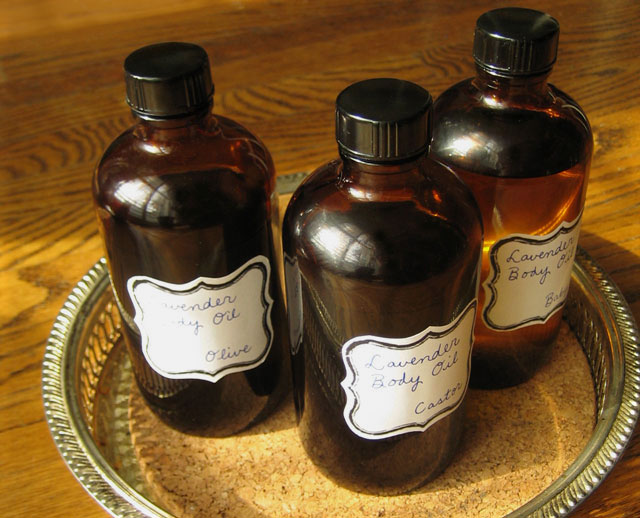
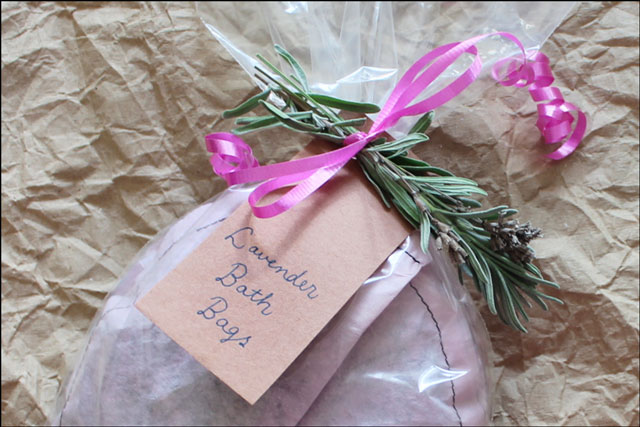
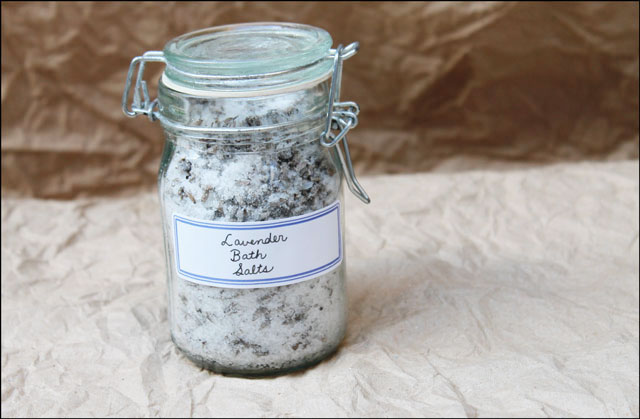
The extraordinarily cold winter last year left my lavender patch looking like it had died. These were plants that I’ve been tending for ten years, after seeing lavender grown in Nick’s Aunt Lucy’s garden in Edinburgh. Mine had done well over the years and was lush and beautiful, and gave me plenty of divine smelling buds to make things with each year, (like these lavender body oils, bath bags, bath salts).
The patch did manage to rally a bit, and I added a new plant that will take a couple of years to really get going, so I did get a small number of buds to play with, which I used to fill this sachet.
This small piece of embroidered felt was really fun to make. Making a little piece means not needing to use an embroidery hoop, so all you need is some felt, a few colours of embroidery floss and a small pair of scissors. A needle threader is handy too. There’s no pattern and yours will inevitably look different than mine. This is free-styling and I encourage you to give it a try!
The stitches I used were 4 basics in embroidery : (1) Back Stitch for the stems (2) Satin Stitch for the leaves (3) Lazy Daisy for the flowers (4) Running Stitch for the border (which also served to sew the back and the front of the sachet together). All of these stitches are explained, with good illustrations on this page.
You know how embroidery floss is made up of 6 thin threads? I split them into 3 thread pieces, to make the stitches more delicate. See in some of my pictures how the thread is just passed through the eye of the needle, with one end loose, so only the 3 threads are used to make the stitches. Also I cut fairly short lengths, so it doesn’t get tangled. I forgot to take a picture, but the back is a mess of thread ends and knots, but nobody’s ever going to see that!
As you can tell by the ‘before’ picture above, showing the supplies, I really didn’t have a solid plan when I began, because the colours of floss were not the ones I ended up using. I began by making the stems and leaves using two different colours of green. Then I randomly added the flowers. I went back and added more stems and leaves, and then more flowers, stitching away until it felt like it was finished.
Then I put it between the pages of a heavy book overnight to press it, which took out the puckers and made it look quite a bit better (so don’t worry if yours isn’t completely flat while you’re working on it).
It took about an hour and a half to embroider and then another 15 minutes or so to stitch the front to the back, add the dried lavender buds, (using a rolled piece of paper as a funnel), and close it up. Using the simple Running Stitch to sew it together means it can be easily opened up and refilled after the lavender aroma has faded.
This is a nice little project that you can put into a zip-lock bag and tuck into your bag, to pull out while riding the train or waiting for an appointment. You could use your masterpiece to make a sachet, a book-mark, a pouch for your phone or mp3 player, or a little something to hang on the wall.
Thank you so much for taking a look,
xo loulou


